Image 2-1: Reservation Settings |
 |
Click to enlarge |
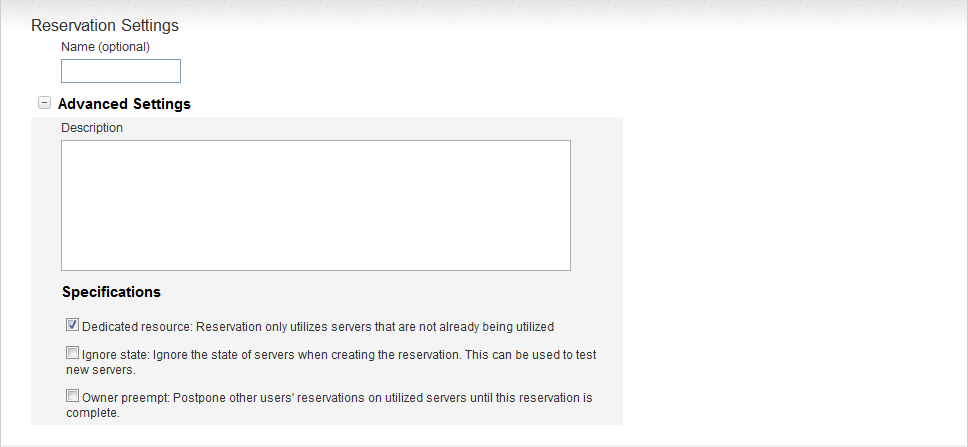
Expand the Advanced Settings subsection and fill in any desired settings. Give the reservation a description and determine whether any of the following settings should be applied to the new reservation:
- Dedicated Resources - Specifies that no other tasks will take place on the server on which this reservation exists; the reservation's resources will not be shared, regardless of whether the reservation is being actively used.
- Ignore State - Specifies that the servers' states will not be considered in choosing which will contain the reservation. This means that the reservation could be assigned to a server that is down or active. This option can be useful for testing new servers.
- Owner Preempt - Specifies that this reservation takes precedence over any other tasks assigned to the same server. Until your jobs on the reservation are complete, other users' jobs are put on hold.
Specify who has access to the reservation by configuring the Access Controls.
|
Image 2-2: Access Controls |
|
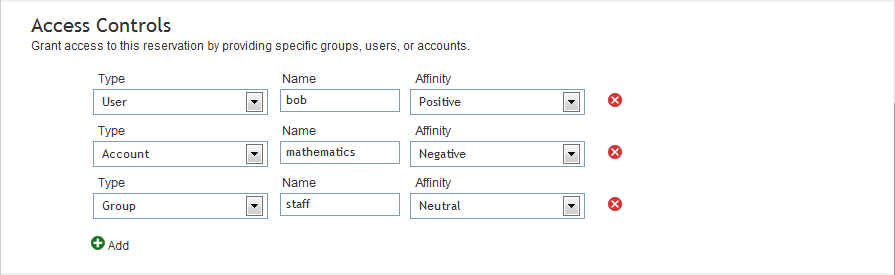
- Click the Add button to determine a person or group's affinity to the reservation.
- Select whether this access specification applies to a user, group, or account.
- Provide the exact name of the user, group, or account in the corresponding textfield.
- Use the drop-down list to set the affinity to one of the following:
- Positive (default) - The user, group, or account's jobs tend toward the reservation, causing the job to use the reservation's resources and leave other unreserved resources free for use by other jobs that may not have access to the reservation.
- Negative - The user, group, or account's jobs avoid the reservation. The reservation's resources are used only as a last resort.
- Neutral - The user, group, or account's jobs are neither attracted nor repelled by the reservation's resources. These jobs may or may not be given resources from the reservation.
You can remove a row from the access control list by clicking the red X button to the right of the row.
|
Image 2-3: Scheduling |

|
- Click in the Start box or calendar icon to set a start time for the reservation. The date picker pops up. Select a date and time in the future and click Done.
- Either specify a duration, select an end time, or make the reservation infinite. To set an end time, use the date picker in the Finish field. To specify a duration for the reservation, use the four Duration text boxes. Insert a number for each box: the first is the number of weeks; the second, days; and the third, hours; and the fourth, minutes, that the reservation will last after its start time.
If you want an infinite reservation, do not specify a duration or end time. Instead, click the Does not end checkbox. The Duration and End fields are disabled.
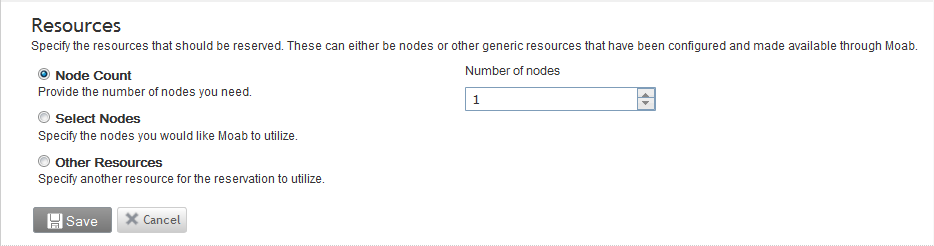
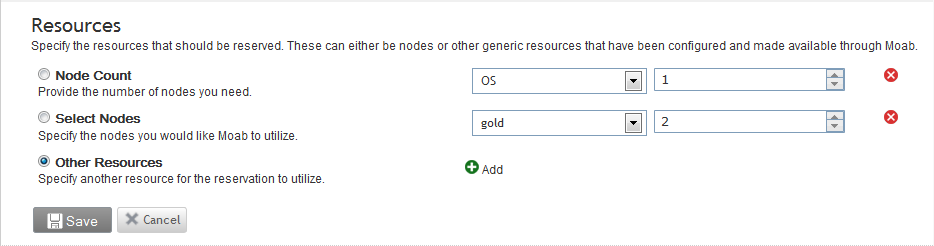
Specify which resources are to be reserved. You may choose from any of the following options:
- Node Count - Specify a number of nodes to reserve in the text box.
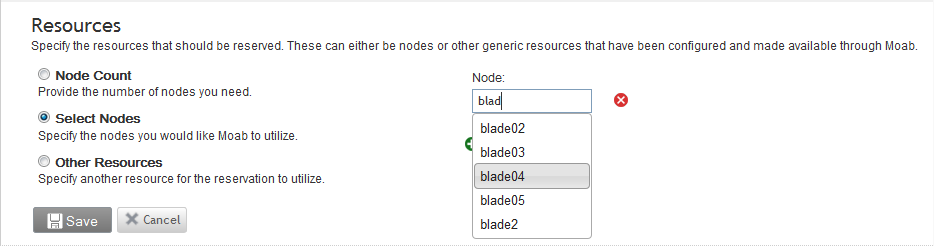
- Select Nodes - Specify which specific nodes you wish to utilize. Begin typing the node name in the provided text box, then select the node from the list of options that appear as you type. To add multiple nodes, click the Add button and repeat the process.
- Other Resources - Choose configured generic resources from a drop-down list and specify the number to reserve in a corresponding text box.
|
Image 2-4: Resources > Node Count |
|
|
Image 2-5: Resources > Select Nodes |
|
|
Image 2-6: Resources > Other Resources |
|
To add another resource to the list, click the Add button. To remove a resource from the list, click the red X button.
For information on configuring generic resources, see Managing Consumable Generic Resources in the Moab Workload Manager documentation.