| Field | Description |
|---|---|
| Field type | Component that is provided for the user to make his/her selection. |
| Label | Descriptive name of the field that appears to the user. |
| ID | Unique identifier of the field. This should only be modified according to the keywords described in this topic (see "ID" field keywords). |
| Default value |
Value that appears when the user loads the form. |
| Minimum | Smallest number that the user may request of the resource. |
| Maximum | Largest number that the user may request of the resource. |
| Schedulable resource | Whether the field represents a schedulable resource or a variable . |
| Visible to user | Whether or not the field appears in the user's service template form. |
| Editable to user | Whether or not the user may modify the specifications of the resource. |

You cannot allow a user to edit a Header field type.
- Select the Field type from the following options:
- Change the field’s ID from the default newField to one of the keywords that maps directly to a Moab resource. See "ID" field keywords.
- Fill in the fields according to the instructions in step 3.
| Field type | Description |
|---|---|
| Text |
Creates a field in which a user can specify any string data.
|
| Numeric |
Creates a number spinner in which a user inputs numeric data.
|
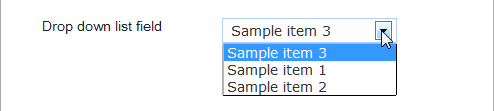
| Drop-down list |
Creates a list field in which the user may choose from one or more predefined options.
For drop-down lists, configure the list options by inserting one into the Item text box and clicking Add List Item. The new item appears in the option table below and the Item text box clears. Repeat the process for each item. You can remove options by clicking the Remove button in the corresponding row’s right cell. |
| Checkbox |
Creates a checkbox that the user clicks to indicate that a value is true.
|
| Header |
Creates a display-only, organizational header to categorize fields and set them apart from others.
|
| Open |
Creates a custom field that you configure with HTML, JavaScript, etc. Take special care when using the Open field because the code you provide can be executed.
If you want to create an input that is not saved to the service, such as filtering lists or radio buttons that toggle other sections, add the noSave class to the input. Inputs containing the noSave class are not sent to the service generation system as a variable or resource. <input ID="myInput" class="noSave"> |
| Autocomplete |
Creates a text box in which the user begins typing and suggestions appear beneath the box. The user clicks, or uses the arrow keys to navigate to, a suggestion to insert into the field.
In the Source field and insert JSON values or the URL of a service that will return a JSON array that determines what values the autocomplete box can suggest. The returned JSON array should consist of a series of objects, each of which has a "label" and "value" entry. For example: [{"label":"1","value":"1"}, {"label":"2","value":"2"}, {"label":"2a","value":"2a"} {"label":"2b","value":"2b"}, {"label":"2c","value":"2c"}, {"label":"3","value":"3"}, {"label":"31","value":"31"} ] |
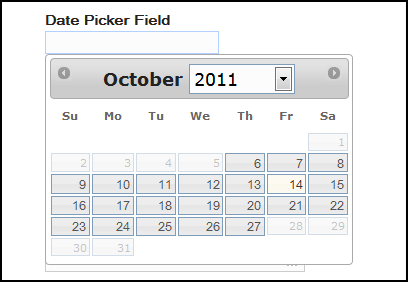
| Date picker |
Creates a field in which the user specifies a date value by navigating to the date in a pop-up calendar and selecting it.
|
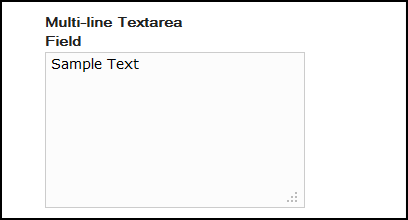
| Multi-line text area |
Creates a custom-sized field in which the user can input any string data.
|


If the ID does not match one of the keywords AND the Schedulable resource option is checked, it is assumed to be a generic resource. Otherwise, it is assumed to be a variable. The value of ID must match the exact name of the generic resource configured in Moab.
See the "Moab Managing Consumable Generic Resources" documentation in the Moab Workload Manager Admininstrator Guide for more information on generic resource configuration.
Some fields are required for the service and cannot be deleted.