You must deploy Moab Web Services on the same server as Moab Workload Manager.
These instructions describe how to deploy Moab Web Services (MWS) to a Tomcat server.
Hardware requirements:
Software requirements:
Use the following commands to install the required Moab Web Services dependencies and packages (listed in the Requirements section above).
RHEL
[root]# yum update
[root]# yum install tomcat6
CentOS
The correct version of Tomcat is not automatically installed on CentOS 5. The example below ensures that the right build of Tomcat 6 is installed.
[root]# rpm -Uvh 'http://plone.lucidsolutions.co.nz/linux/centos/images/jpackage-utils-compat-el5-0.0.1-1.noarch.rpm'
[root]# cd /etc/yum.repos.d
[root]# wget 'http://www.jpackage.org/jpackage50.repo'
[root]# yum update
[root]# yum install tomcat6 tomcat6-webapps tomcat6-admin-webapps
To install Moab Web Services
You must deploy Moab Web Services on the same server as Moab Workload Manager.
Here is a suggested script that you can use to generate the key:
dd if=/dev/urandom count=18 bs=1 2>/dev/null | base64 > /opt/moab/etc/.moab.key
chown root /opt/moab/etc/.moab.key
chmod 400 /opt/moab/etc/.moab.key
ln -f /opt/moab/etc/.moab.key /opt/moab/.moab.key
service moab start
| Installation method | Instructions |
|---|---|
| Packages (recommended) |
Install the packages (available from the Mongo-provided repositories for CentOS and Fedora or Ubuntu and Debian). After installing the packages, start MongoDB and arrange for it to start automatically during server startup.
/sbin/chkconfig mongod on /etc/init.d/mongod start |
| Manual (not recommended) |
Follow these instructions.
Be sure to start the Mongo server (mongod) after installation and arrange for it to start automatically during server startup (for example, by writing and registering an /etc/init.d script). |
sh jre-6u33-linux-x64-rpm.bin
rm -f /usr/bin/java
ln -s /etc/alternatives/java /usr/bin/java
/usr/sbin/alternatives --install /usr/bin/java java /usr/java/latest/bin/java 1
/usr/sbin/alternatives --set java /usr/java/latest/bin/java
You can verify the Java installation by running the following command:
java -version
The output should look similar to this:
java version "1.6.0_33"
Java(TM) SE Runtime Environment (build 1.6.0_33-b03)
Java HotSpot(TM) 64-Bit Server VM (build 20.8-b03, mixed mode)
The default location for the MWS home directory is /opt/mws. These instructions assume the default location.
Here is an sample script for this setup:
mkdir -p /opt/mws/etc /opt/mws/hooks /opt/mws/plugins /opt/mws/log
chown -R tomcat /opt/mws # Depending on your OS, the Tomcat username might be tomcat6.
chmod -R 555 /opt/mws
chmod u+w /opt/mws/plugins /opt/mws/log
mkdir /tmp/mws-install
cd /tmp/mws-install
tar xvzf $HOME/Downloads/mws-7.1.0.tar.gz
cd /tmp/mws-install/mws-7.1.0
cp mws-config-hpc.groovy /opt/mws/etc/mws-config.groovy
[root]# vi /opt/mws/etc/mws-config.groovy
...
moab.secretKey = "<ENTER-KEY-HERE>"
moab.server = "localhost"
moab.port = 42559
// Change these to be whatever you like.
auth.defaultUser.username = "admin"
auth.defaultUser.password = "adminpw"

If you do not change auth.defaultUser.password, your MWS will not be secure (because anyone reading these instructions would be able to log into your MWS). Here are some tips for choosing a good password.
CATALINA_OPTS="-Xms256m -Xmx3g -XX:MaxPermSize=384m -DMWS_HOME=/opt/mws"
Where you choose to store CATALINA_OPTS depends on various factors, including operating system and sysadmin preference. Here are some suggestions:
chkconfig tomcat6 on
service tomcat6 start
cp /tmp/mws-install/mws-7.1.0/mws.war /var/lib/tomcat6/webapps
|
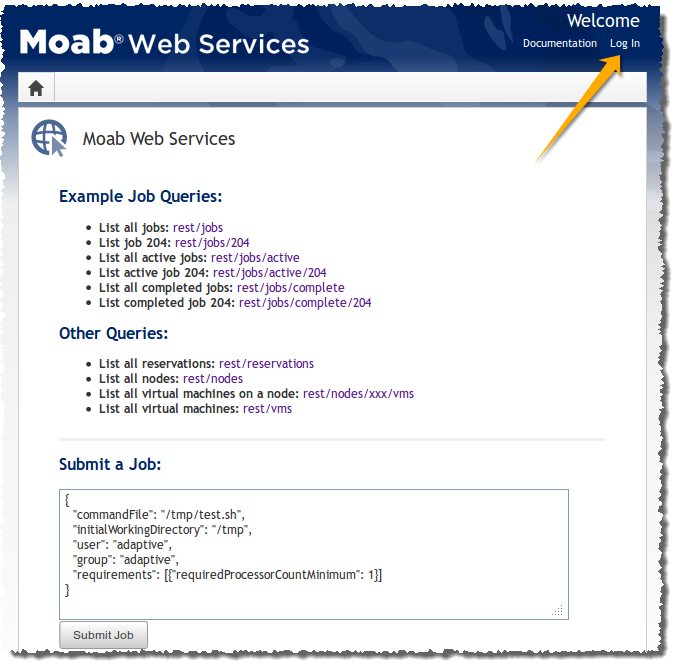
|
Click to enlarge |
If you encounter problems, or if the application does not seem to be running, see the steps in the "Troubleshooting Installation "section of the Moab Web Services Reference Guide.
Related topics
© 2012 Adaptive Computing