Fields: New Reservation
Path:
Path:
Path:
|
Image 9-1: New Reservation |
|
|
Click to enlarge |
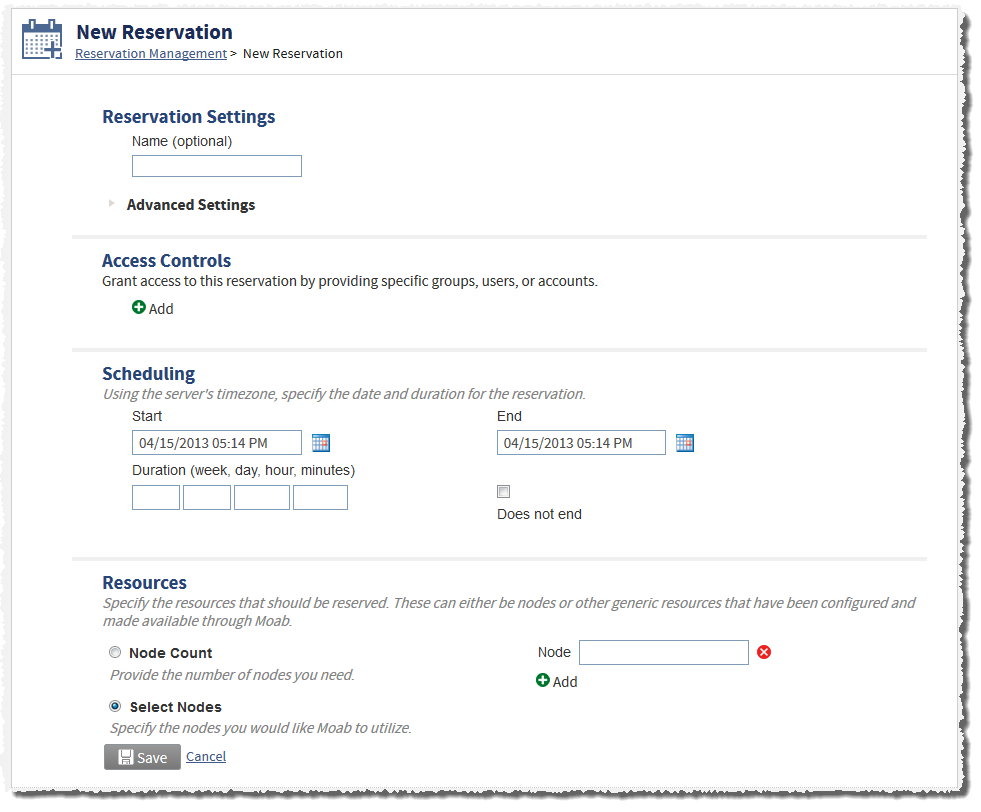
The New Reservation page contains a form for creating a new reservation.
Reservation Settings
Use this section of the form to specify information about and specifications for your reservation.
Name
(Optional) Lets you specify the name of the reservation.
Description
Lets you specify a text description of the reservation.
Lets you determine which of the following settings (if any) should be applied to the reservation. You may include as many or as few of these settings as you want.
| Setting | Description |
|---|---|
| Dedicated resources | Specifies that no other tasks will take placed on the server where this reservation exists. The reservation's resources will not be shared, regardless of whether or not the reservation is being actively used. |
Access Controls
In this section of the form, you can grant access to this reservation to Moab users, accounts, and groups. You can also specify the user, account, or groups' job affinity toward the reserved resources.
To add additional access controls to the reservation, choose Add ( ). To remove access controls, choose Remove (
 ).
).
Lets you specify if the access setting applies to Moab user, group, or account. Choose one of the following:
| Option | Description |
|---|---|
| User | Specifies that the access control applies to a Moab user. |
| Account | Specifies that the access control applies to a Moab account. |
| Group | Specifies that the access control applies to a Moab group. |
For example:

Name
Depending on the Type, lets you specify the exact name of the Moab user, account, or group.

You must be careful to enter exact names or the users, accounts, and groups you specify will not be allowed access to the reservation.
Affinity
Lets you specify the Moab user, group, or account's affinity to the reservation. Choose one of the following:
| Option | Description |
|---|---|
| Positive | Specifies that the user, group, or account's jobs tend toward the reservation, causing the job to use the reservation's resources and leave other unreserved resources free for use by other jobs that may not have access to the reservation. |
| Negative | Specifies that the user, group, or account's jobs avoid the reservation. The reservation's resources are used only as a last resort. |
| Neutral | Specifies that the user, group, or account's jobs are neither attracted nor repelled by the reservation's resources. These jobs may or may not be given resources from the reservation. |
Scheduling
Start
Lets you specify a future date and time for the beginning of the reservation. When you click the field, a date picker opens. You can select the date, and time (hour and minute) for the reservation start time, or you can select Now to auto-populate the fields for today's date and time.
Lets you specify a future date and time for the end of the reservation. When you click the field, a date picker opens. You can select the date, and time (hour and minute) for the reservation end time, or you can select Now to auto-populate the fields for today's date and time.
If you want the reservation to last indefinitely, you can select the Does not end option.
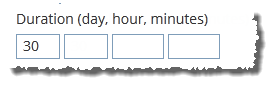
Lets you specify the duration for the reservation after it starts.
If you specify an end time in the End field, this field will auto-populate with the correct week, day, hour, and minutes for the duration.
In this field, you can manually specify the duration by entering in the duration values you need. The first box is the number of days; the second, hours; the third, minutes. For example, if you need the reservation for 30 days, enter 30 in the day (second) box.
If you want the reservation to last indefinitely, you can select the Does not end option.
Lets you specify that you want an infinite reservation.
Resources
Use these fields and options to specify the Moab resources that should be reserved. These can either be nodes or other generic resources that have been configured and made available through Moab.
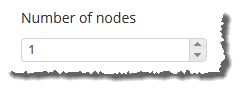
Node Count
Lets you specify which nodes you wish to utilize. Begin typing the node name in the provided text box, then select the node from the list of options that appear as you type. To add multiple nodes, click the Add button and repeat the process.
When you select "Evacuate workload from selected nodes when the reservation starts" from Advanced Settings, this option becomes unavailable.
Select Nodes
Lets you select which specific nodes you wish to utilize in the reservation. Begin typing the node name in the provided text box, then select the node from the list of options that appear as you type. To add additional nodes to the reservation, choose Add (). To remove nodes, choose Remove ().

Save
Lets you save the reservation. When you choose Save, you are taken to the Reservation Management page (for details, see Fields: Reservation Management).
Cancel
Lets you revert the changes on the reservation form and go back to the Reservation Management page (for details, see Fields: Reservation Management).
Related topics